
Start with the most faithful copy
Restoration cannot recover detail that never reached the file. Scan the original at the highest practical resolution and save that scan before making edits. If the print is behind glass, remove it only when doing so is safe. Reflections, fingerprints, and a tilted camera can be harder to repair than the damage on the photograph itself.
When a phone is your only option, place the print on a flat surface and use soft light from both sides. Keep the lens directly above the center. Avoid a ceiling light reflected across dark areas, and do not use portrait mode or a beauty filter.
Ask for a controlled repair
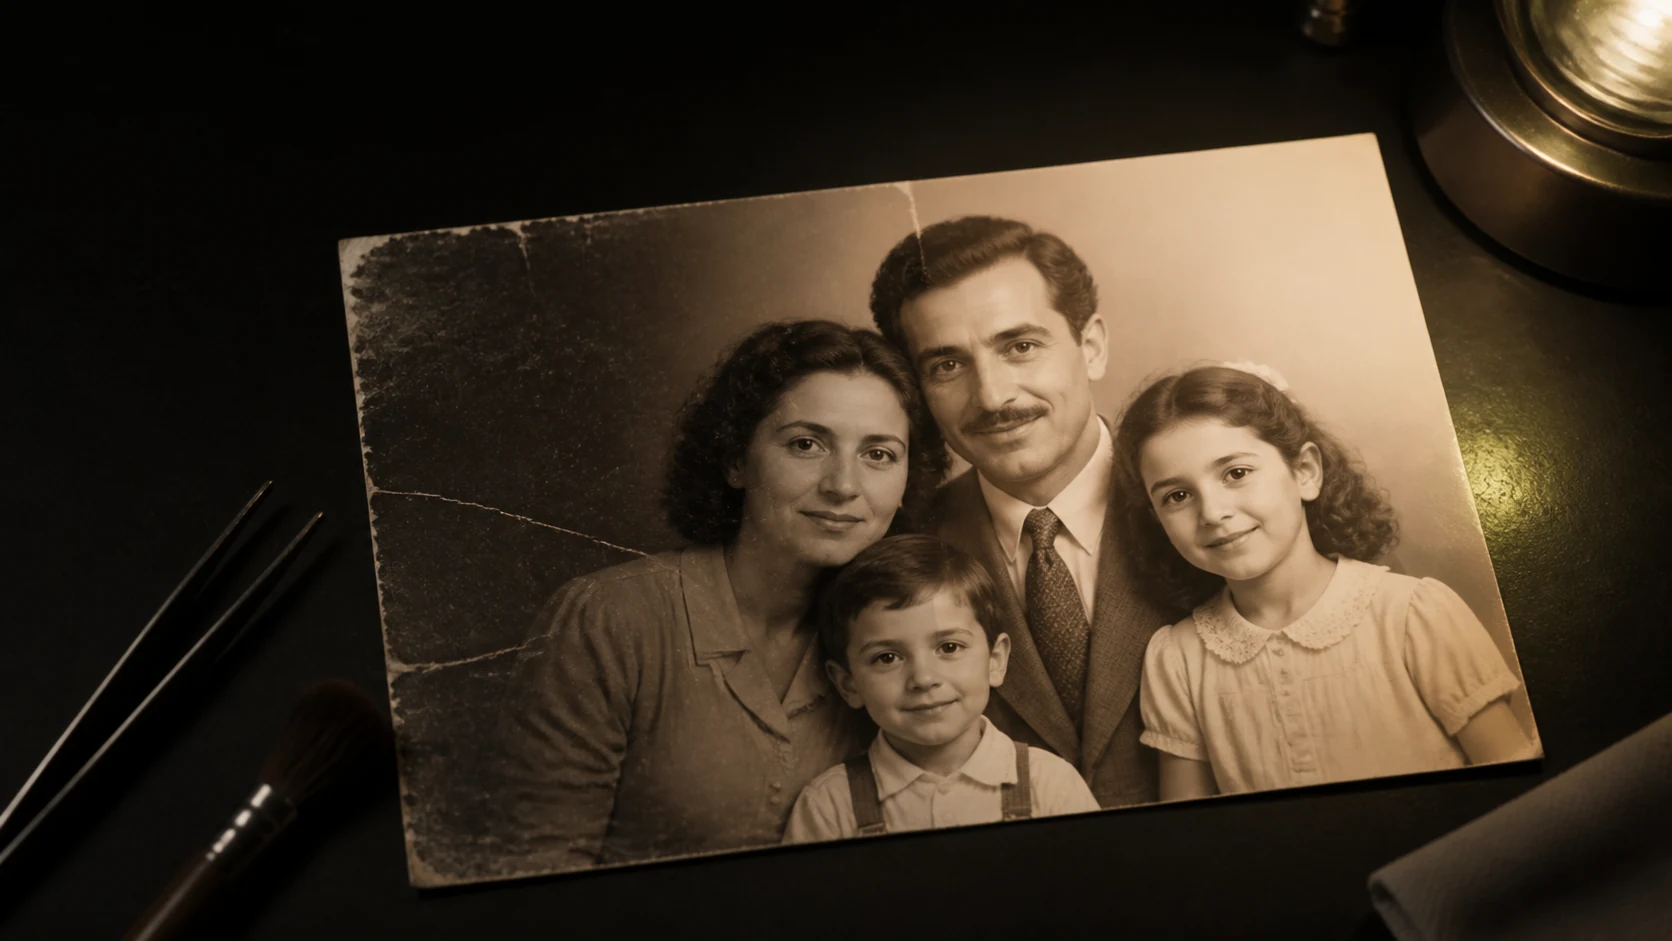
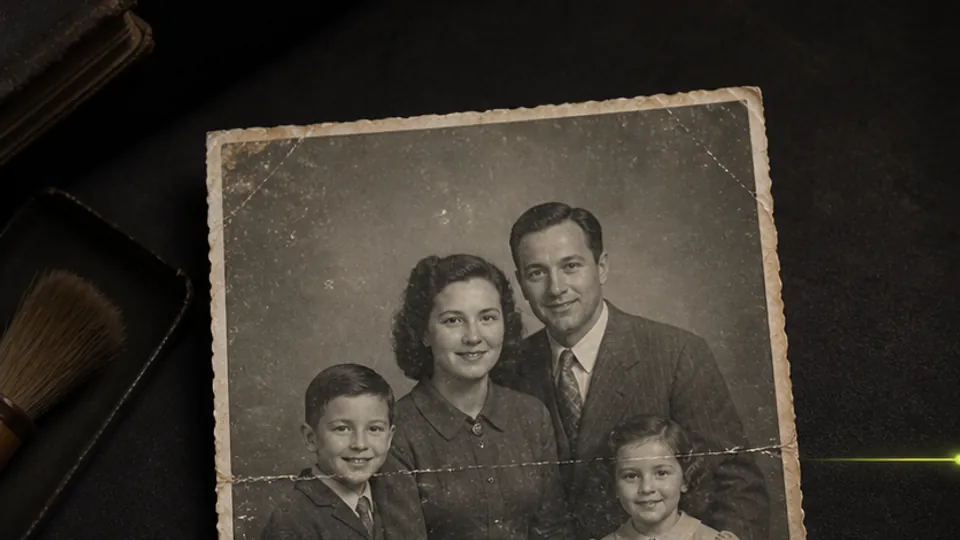
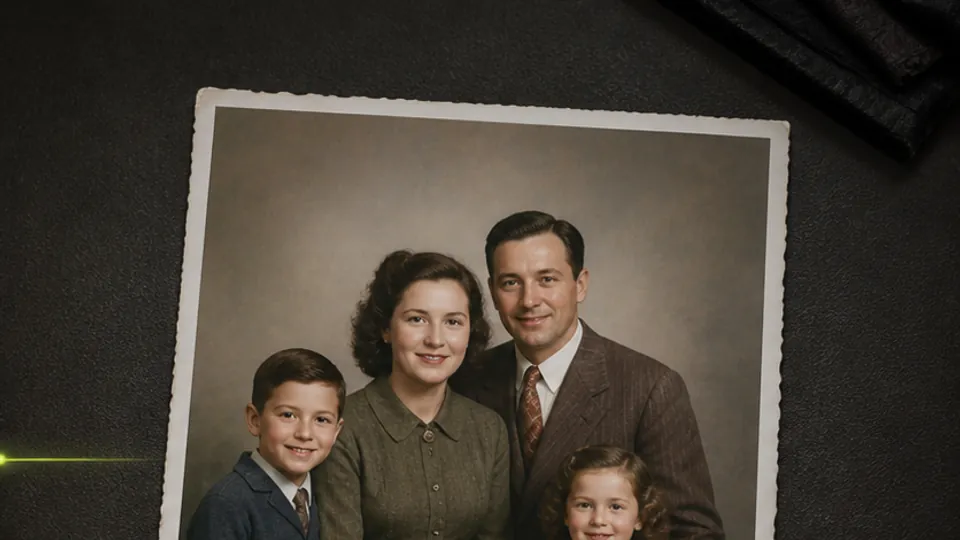
Describe the damage you can see instead of requesting a vague improvement. “Remove the horizontal crease and small white scratches, restore moderate contrast, and keep the original grain” gives the edit clear boundaries. If you also want color, make that a separate version. It is easier to judge a repair when several major changes are not mixed together.
For faded photographs, recover contrast carefully. Deep black shadows and bright white highlights can hide clothing texture and facial detail. A good restoration still looks like a photograph from its period rather than a new studio portrait.
Check identity before surface polish
Compare the source and result side by side at the same size. Start with the parts that carry identity: the shape of the eyes, mouth, nose, hairline, hands, jewelry, and clothing. Then inspect objects with known geometry, such as windows, picture frames, furniture, and printed signs.
Small marks can disappear without changing the story. A reconstructed eye, hand, or background figure is more serious because the system may have filled a gap with a plausible guess. If the damage covers an important feature, use another family photo as a reference and keep a note that the result contains reconstruction.
Treat color as a version, not a fact
Colorization can make an old image easier to connect with, but the exact colors of clothing, walls, vehicles, and skin are not preserved in a grayscale scan. Save both the cleaned black-and-white version and the colorized version. For archives or family history, record which one is the original and which one is an interpretation.
If you want to add subtle motion after the repair, continue with the still-image animation guide.
Before you save the result
- The untouched scan is stored separately.
- Faces and hands still match the source.
- Repairs do not erase useful film texture.
- Straight lines and repeated patterns remain stable.
- Colorized details are treated as interpretation.
- The final file is large enough for its intended print or screen size.